By
May 1940, Europe had been at war for nine months. Yet Britain and
France, despite having declared war on Germany in September 1939
following Hitler’s attack on Poland, had seen little real fighting. This
tense period of anticipation – which came to be known as the ‘Phoney
War’ – met an abrupt end on 10 May 1940, when Germany launched an
invasion of France and the Low Countries.
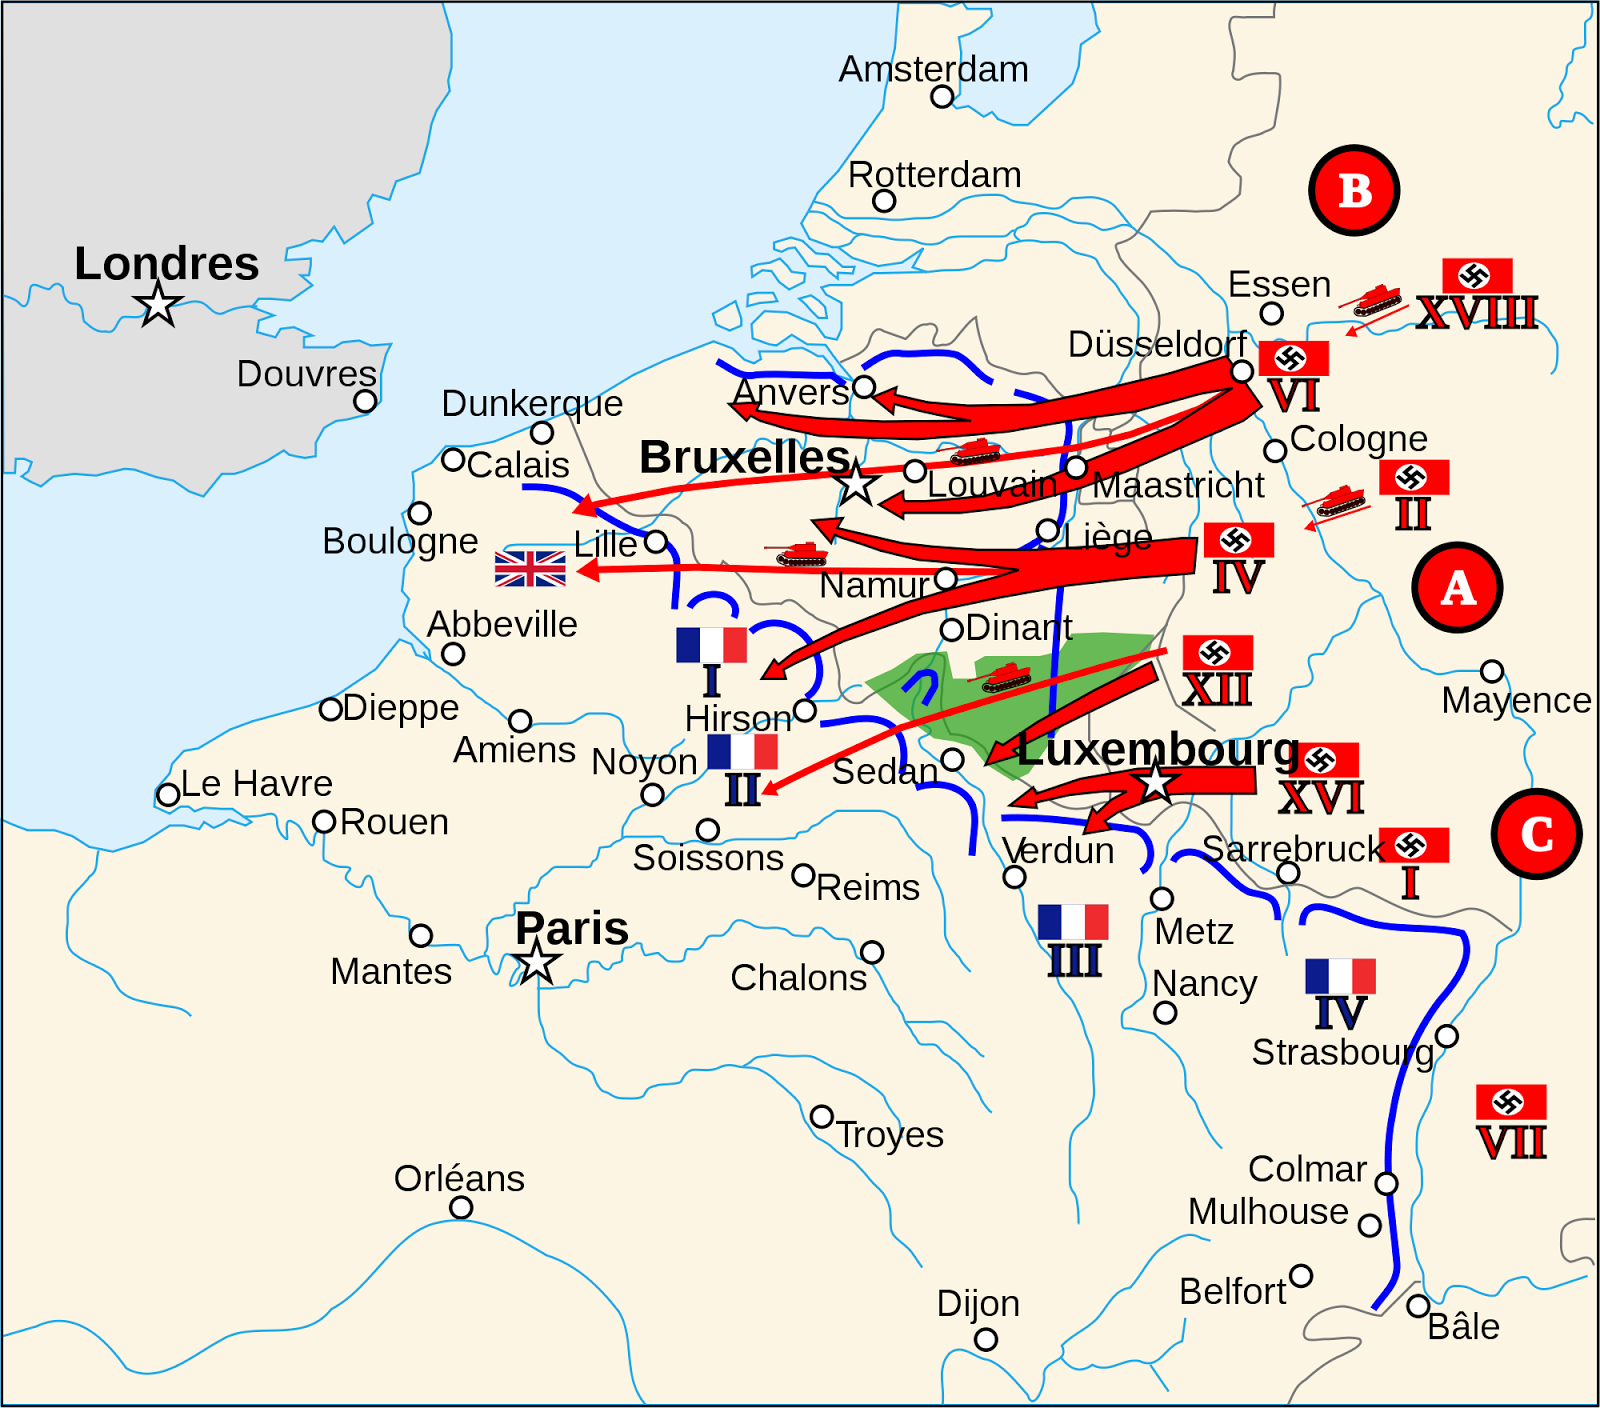
The German plan of attack, codenamed Case Yellow, entailed an armoured offensive through the Ardennes Forest, which bypassed the strong French frontier defences of the Maginot Line. The advance would then threaten to encircle French and British divisions to the north, stationed on the Belgian frontier.
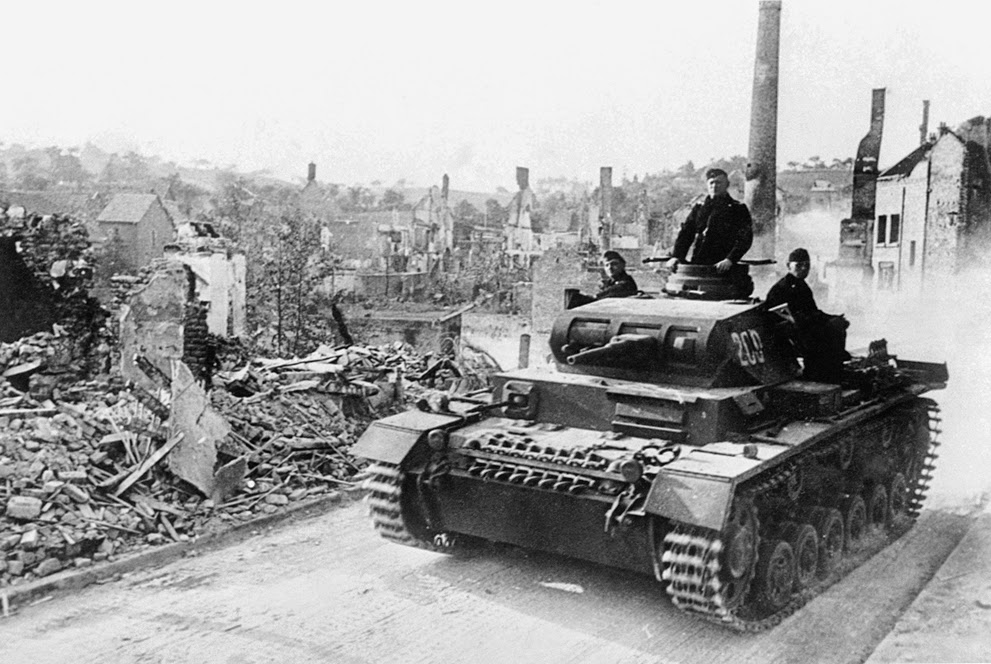
The German offensive quickly overwhelmed Dutch forces, and the bombing of Rotterdam persuaded the Netherlands to surrender on 15 May. And although German forces in the north encountered strong French and Belgian resistance, the main German thrust through the Ardennes met with tremendous success. French second-rate divisions in the area were not prepared or equipped to deal with the major armoured thrust that developed (the forest and poor roads were thought to make this impossible), and were hammered by incessant attacks by German bombers.
Just four days into the invasion German troops crossed the Meuse river, and had broken through the French lines. Attempts by the Allies to launch counterattacks by air and land either failed with heavy losses, or were thwarted by the pace of events. The British Expeditionary Force, along with the best units of the French army, were still in the north and had seen little fighting. But the German breakthrough to the south now forced them into rapid retreat to avoid being cut off with their backs to the sea. On 20 May German tanks reached Amiens and effectively trapped the British, who now made for Dunkirk and an unlikely attempt at evacuation to England.
In these desperate circumstances, an evacuation plan known as ‘Operation Dynamo’ was hastily prepared in Dover by Vice Admiral Bertram Ramsay. His strategy included an appeal for all civilian vessels that could cross the Channel to help ferry the troops from the beaches to larger ships offshore, or to evacuate them entirely. Between 26 May and 4 June - a period during which Hitler halted the advance of his troops on Dunkirk - 200,000 British and 140,000 French troops were evacuated to England. Nine allied destroyers and approximately 200 civilian vessels were lost during the evacuation, and the RAF suffered severe casualties covering the operation from the air.
On 5 June, the Germans swung southwards and French resistance finally collapsed, although not without heavy fighting. On 10 June, Italy opportunistically entered the war on Germany’s side. Four days later, the French capital fell, provoking the flight of the French Government to Bordeaux. The Government capitulated on 25 June, just seven weeks after the beginning of the invasion.
The British 51st Highland Division - stationed in the Maginot Line when the fighting started – was forced to surrender at St Valéry. During the final evacuation of British troops from St Nazaire on the Atlantic coast, the troopship Lancastria was sunk with the loss of around 4,000 refugees, British troops and crew.
Reluctant to take the risk that the French Navy would end up under German control, Churchill ordered the Royal Navy to present French warships at Mers-el-Kebir with an ultimatum to sail to Britain or to a neutral port for internment. When this offer was rejected on 3 July, British ships bombarded the fleet, killing 1,600 people. Although this operation did much to assure America of the strength of the British purpose, it and the evacuation of Dunkirk did immeasurable damage to Franco-British wartime relations.


